
Step-by-Step Guide to Perfectly Installing Drip Edge on a Roof
Keeping your roof looking amazing should be a priority for every homeowner, but how you do it can differ. But one method would be to perfectly installing drip edge on a roof. The process is relatively easy, and you would even need professional help if you just follow our simple 11-step process.
From telling what it is and why you should be installing it to gathering the necessary tools and installing it, we will cover all the parts. So please sit down, and let’s get this DIY project started.
What Is A Drip Edge?
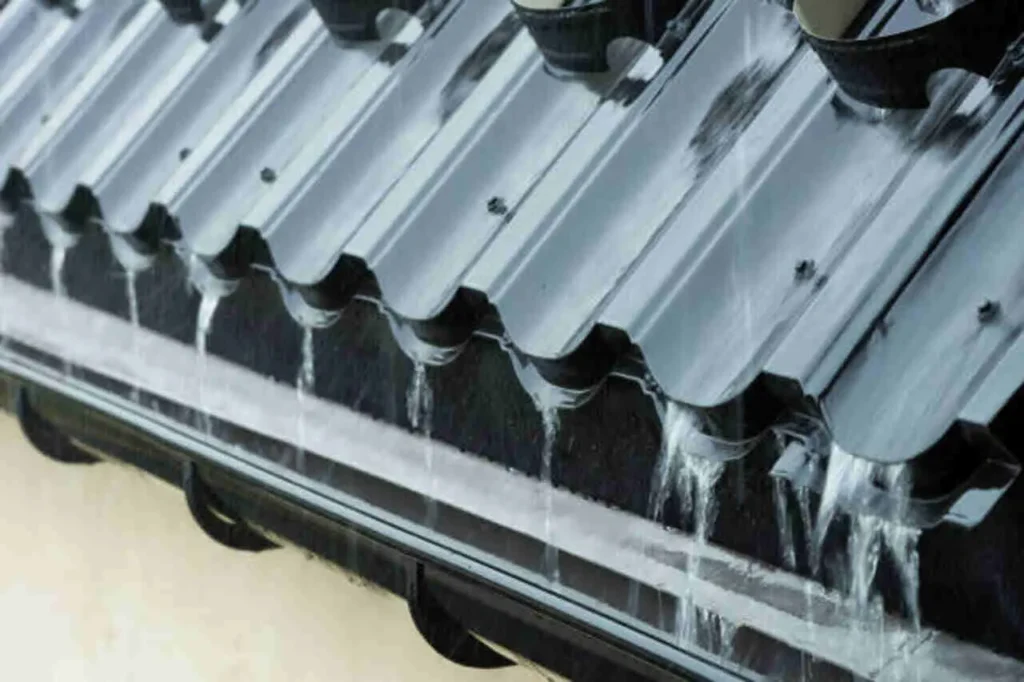
A drip edge is like a metal strip installed along the edges of a roof. Its job is to ensure rainwater doesn’t go anywhere it shouldn’t. It helps by directing water away from the roof’s edge and stopping it from getting into the house.
The drip edge goes under the roofing and sticks out a bit, ensuring water drips away from the walls. This is important because it prevents problems like rot or water damage. So, the drip edge is there to keep the rain in check and protect your home.
Why Do I Need To Install A Drip Edge on My Roof?
Aside from keeping water away from other parts of your home, you will want to install a drip edge because it gives you more benefits. For example:
Protects Wood from Decay
A drip edge keeps water from sneaking under the roofing material, shielding the wooden parts of your roof. Without it, water could cause the wood to decay over time.
Safeguards Against Insects
A drip edge helps deter insects attracted to damp conditions by preventing water accumulation. This adds an extra layer of defense against unwanted pests in your roof structure.
Preserve Foundation and Landscape
The drip edge ensures water flows away from the foundation and landscaping. Without it, excess water near the foundation can lead to erosion and potential damage to your home’s base and surrounding greenery.
Materials and Tools For Installing Drip Edge on a Roof

You can’t be installing drip edge on a roof with the right equipment or materials. So, before we start teaching you how to install a drip edge, we will cover what you need to have on hand. Here is a list of items you need:
- Drip edge flashing
- Roofing nails or screws
- Hammer or screwdriver
- Tape measure
- Chalk line
- Tin snips or aviation shears
- Roofing cement or sealant
Guide to Perfectly Installing Drip Edge on a Roof
Once you have gathered all the tools and materials you need to install a drip edge on a roof, you can begin the installation process. We will cover all the steps one by one so you can do them yourself.
Step 1: Safety First
Before working on any construction or installation project, you need to consider your safety. So first, get a stable ladder and wear some protection like work gloves and safety glasses.
Step 2: Measure the Roof Perimeter
Once you wear your gloves and glasses, get your tape measurer and find the length of drip edge needed for each side of the roof. To be safe, add a few inches on both sides for those overlapping corners of your roof.
Step 3: Cut Drip Edge Pieces
Grab your tin snips or aviation shears and cut the drip edge following your measurements. Make some miter cuts at a 45-degree angle for the corners of your roof to get the best fit.
**A miter cut is a diagonal cut made at a 45-degree angle across the end of a piece of material, usually to create a neat and precise joint when two pieces are joined together, often at a corner.
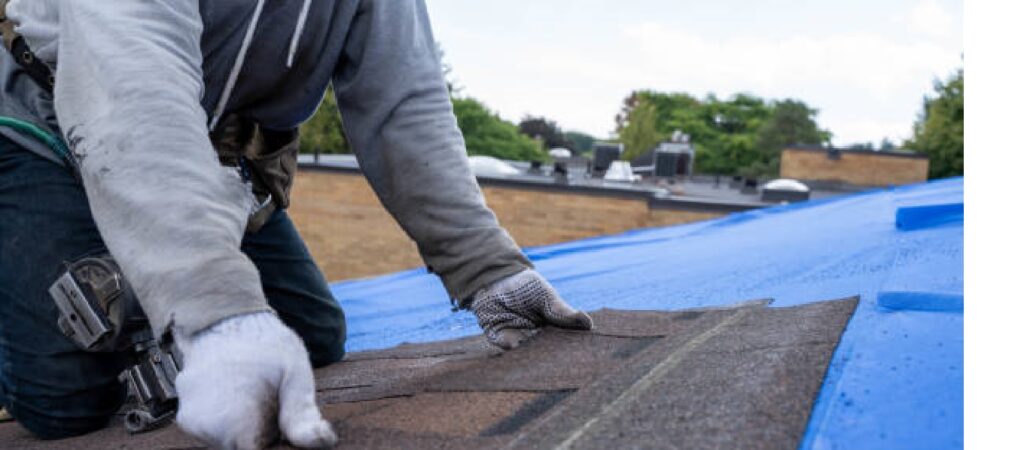
Step 4: Install Underlayment (If Necessary)
This step is only for those with a new roof, so if you are installing a drip edge on an old roof, you can skip this step.
Roof underlayment is like a shield for your roof. It’s a layer placed on the roof deck before the final roofing goes on top. Think of it as an extra guard against water sneaking in and giving your roof some extra warmth. The The underlayment is typically made of asphalt-saturated felt or synthetic materials.
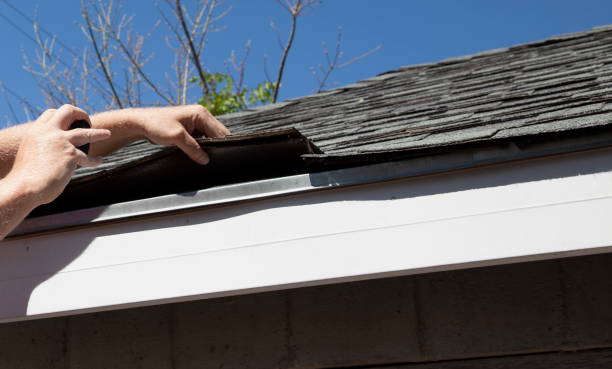
Step 5: Start at the Eaves
When starting at the eaves(bottom edge of the roof), you’re positioning the drip edge along the bottom edge of the roof. The key is to align it so that the longer edge of the drip edge faces outward, away from the roof, and the shorter edge rests against the roof deck.
This positioning is crucial because it helps direct water away from the roof’s edge, preventing potential water damage.
Step 6: Nail or Screw in Place
After positioning the drip edge at the eaves:
- Attach it securely. You can do this by using either roofing nails or screws.
- Place these fasteners along the top edge of the drip edge, spacing them approximately every 8 to 12 inches.
- Be careful not to overdrive the fasteners, as this might compromise the effectiveness of the drip edge.
Step 7: Overlap Drip Edge at Corners
When reaching the corners of the roof, you need to overlap the drip edge pieces. Imagine you have two pieces of drip edge coming together at a corner. Instead of having them meet end-to-end, you let one piece extend past the other by a few inches.
This overlapping helps create a stronger and more watertight seal at the corners, preventing water from getting underneath the drip edge and causing potential damage. Secure the overlapping sections with nails or screws to ensure a secure and effective installation.
Step 8: Continue Installation
Continue installing drip edge along the entire perimeter of the roof, overlapping the pieces at corners and using fasteners as needed.
Step 9: Install Drip Edge at Gables
When you reach the gables (sloping sides of the roof), install the drip edge similarly. Trim the top edge to follow the roof slope.
Step 10: Seal Joints with Roofing Cement
Applying roofing cement or sealant over the joints and fasteners to enhance water resistance. This will help prevent water from penetrating underneath the drip edge.
Step 11: Inspect and Make Adjustments
After completing the installation, inspect the drip edge to ensure it is securely attached and free of any gaps or issues. Make any necessary adjustments or corrections.
By following these steps, you should be able to install drip edge on your roof effectively, providing better protection against water damage and prolonging the life of your roofing system
Make sure you have a lighting certificate for your home’s security and safty .
Conclusion
Installing drip edge on a roof can be very helpful because it will keep water from getting into your foundation or interior. There are other benefits to doing this project, like keeping your exterior looking good. Before you start the installation process, remember to gather all the necessary tools. Our guide should be more than enough to ease you through the process. But if you need help, contact some professional roofing contractors who can do the work in a flash.
FAQs
Can I install a drip edge on an existing roof?
Yes, you can. Yet, it needs extra care and attention to ensure it fits well and effectively keeps water away.
Is professional help necessary to install the drip edge?
While it’s a DIY-friendly project, seeking professional assistance ensures precision and adherence to local building codes.
How often should I inspect my drip edge?
Ideally, annual inspections help identify any issues early on, preventing potential water damage.
Can I paint my drip edge to match my roof color?
Yes, you can. Choose a paint designed for metal surfaces and follow proper application techniques for a seamless finish.
Is drip edge installation mandatory?
While not mandatory, installing drip edge is highly recommended to protect your roof from water damage and enhance its lifespan.